Home > BathSelect® Taranto Thermostatic Shower Set with Rainfall Shower Head & Hand Shower Installation Instructions

How to Install Taranto Thermostatic Shower Set With Rainfall Shower Head & Hand Shower | BS459SBR

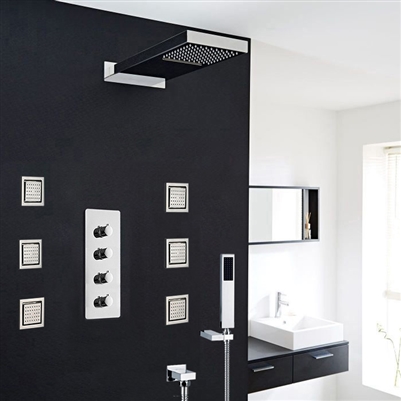
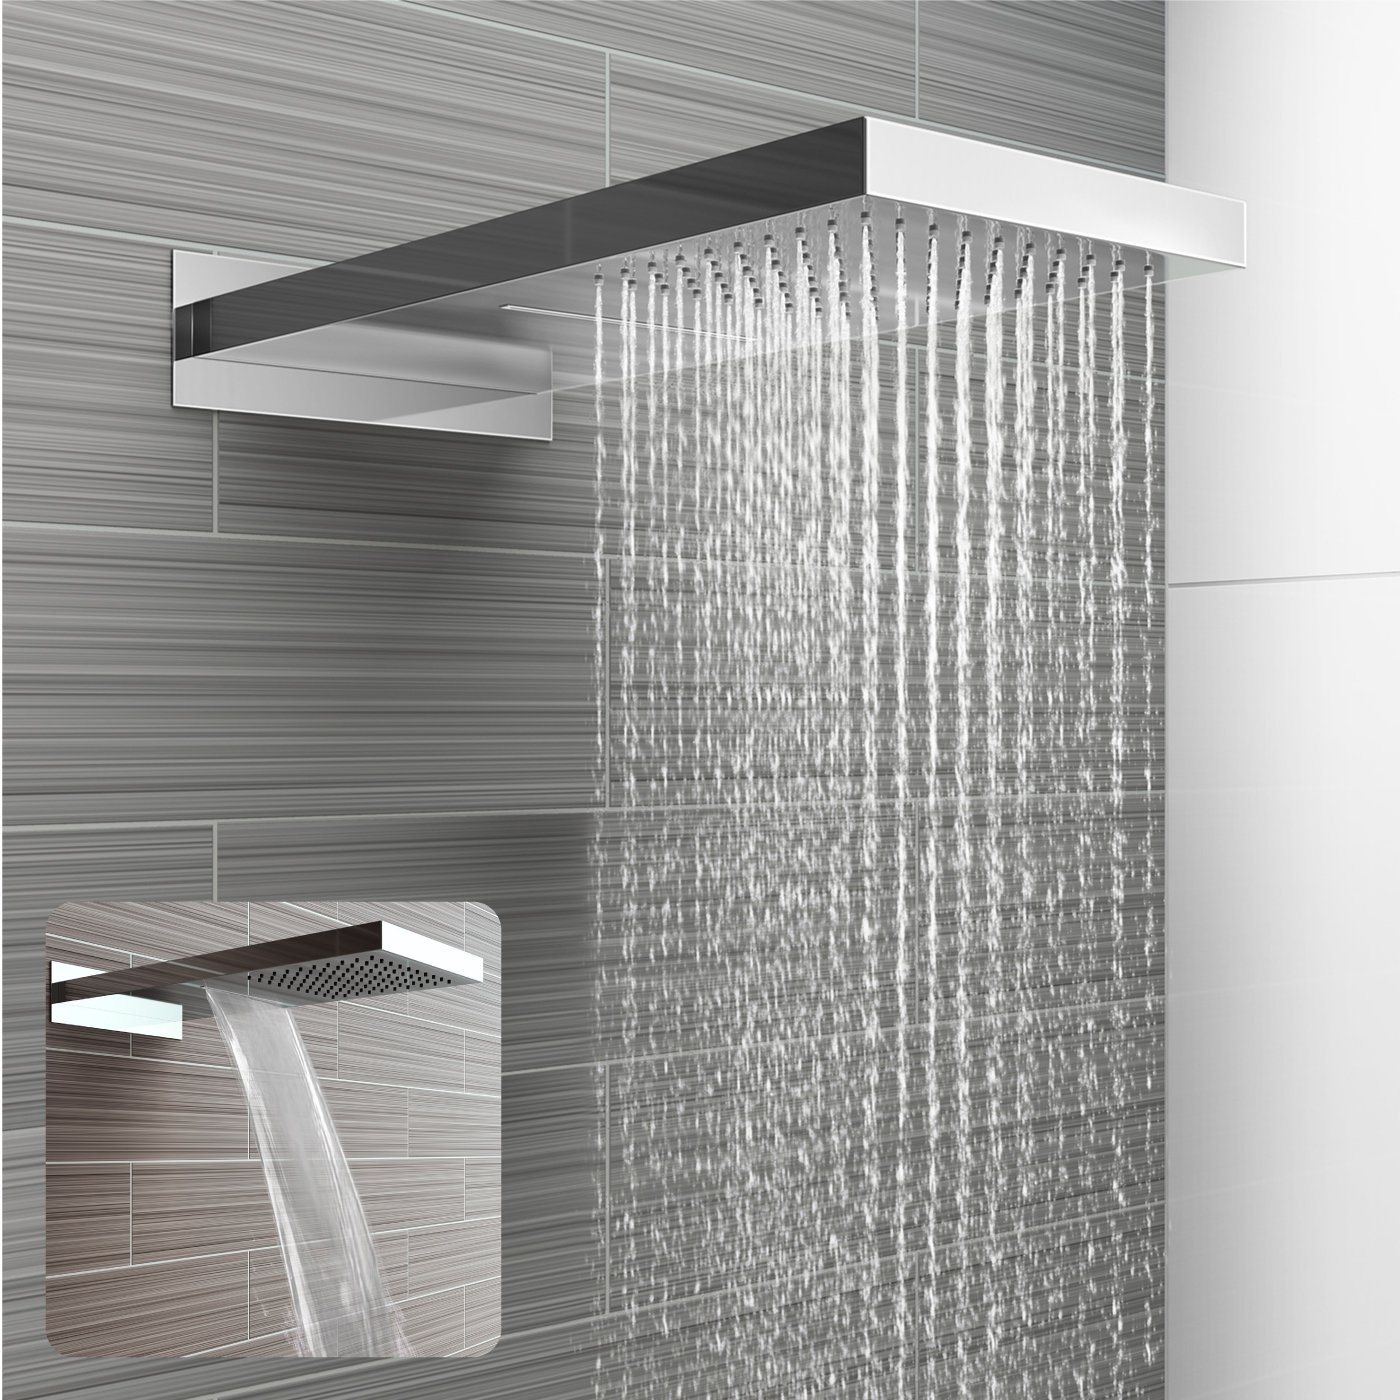
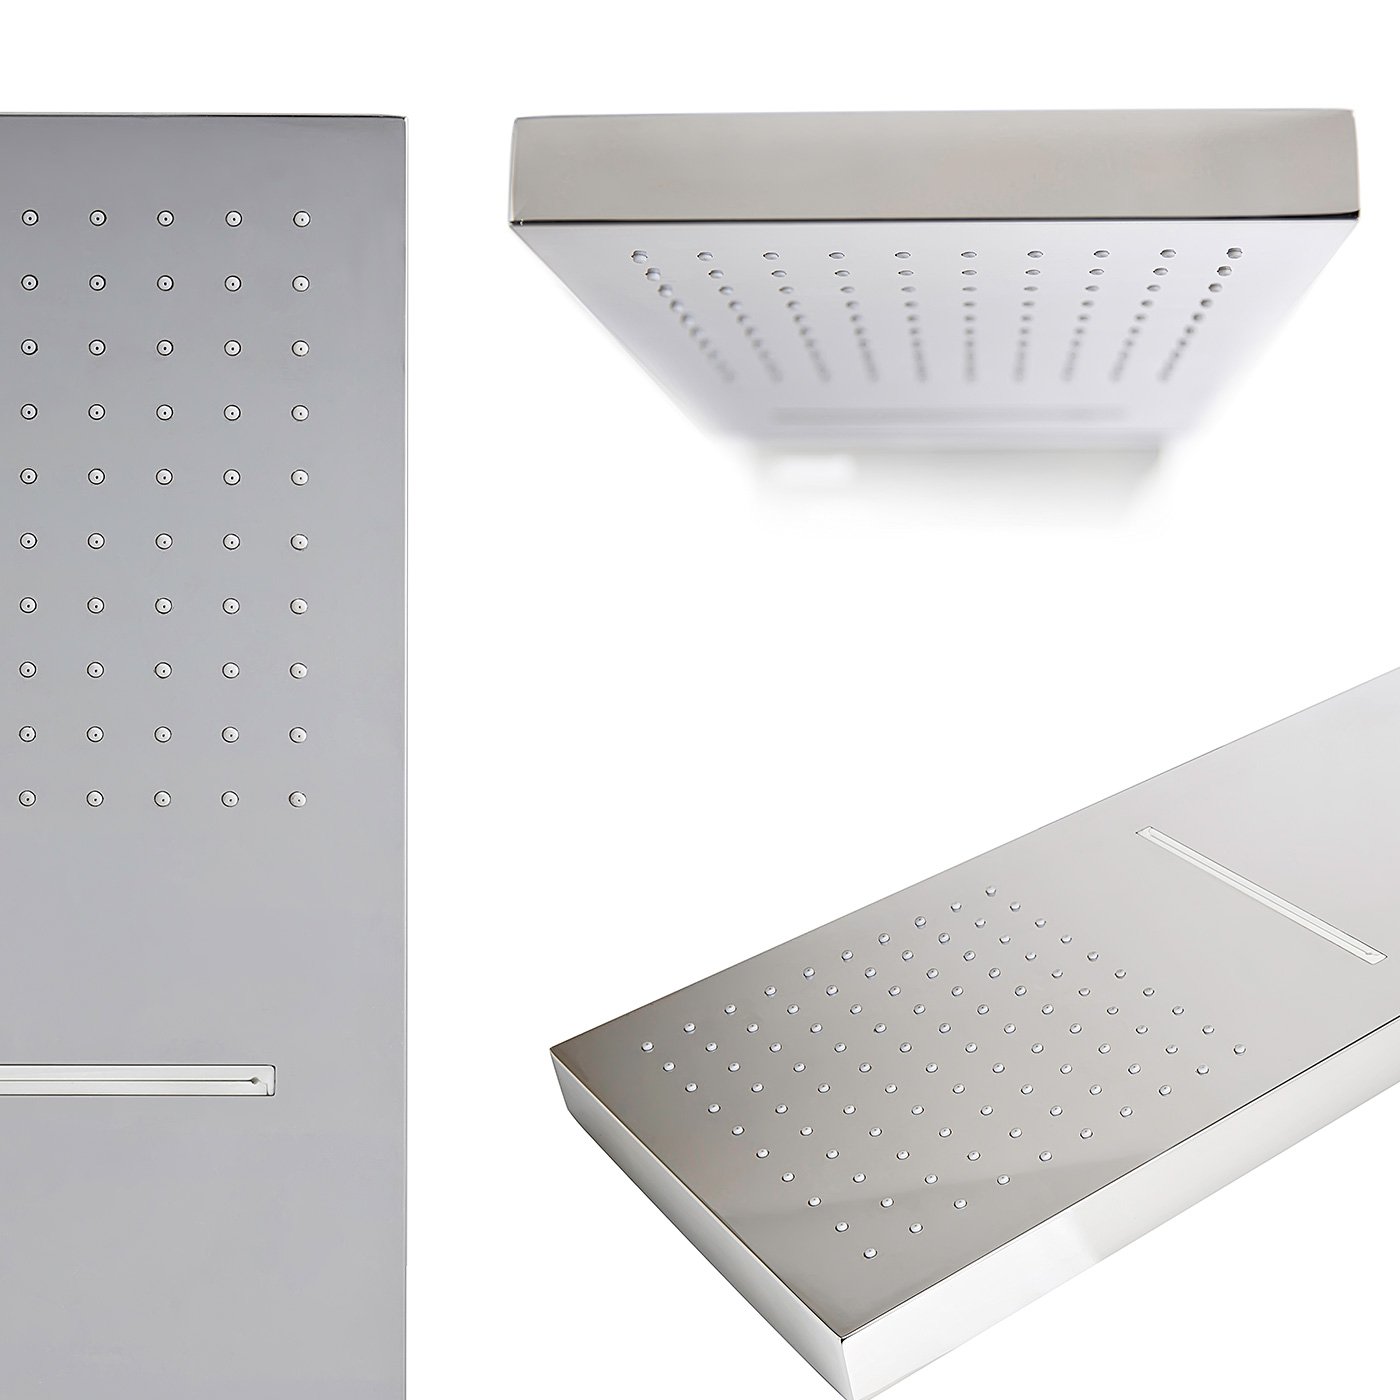
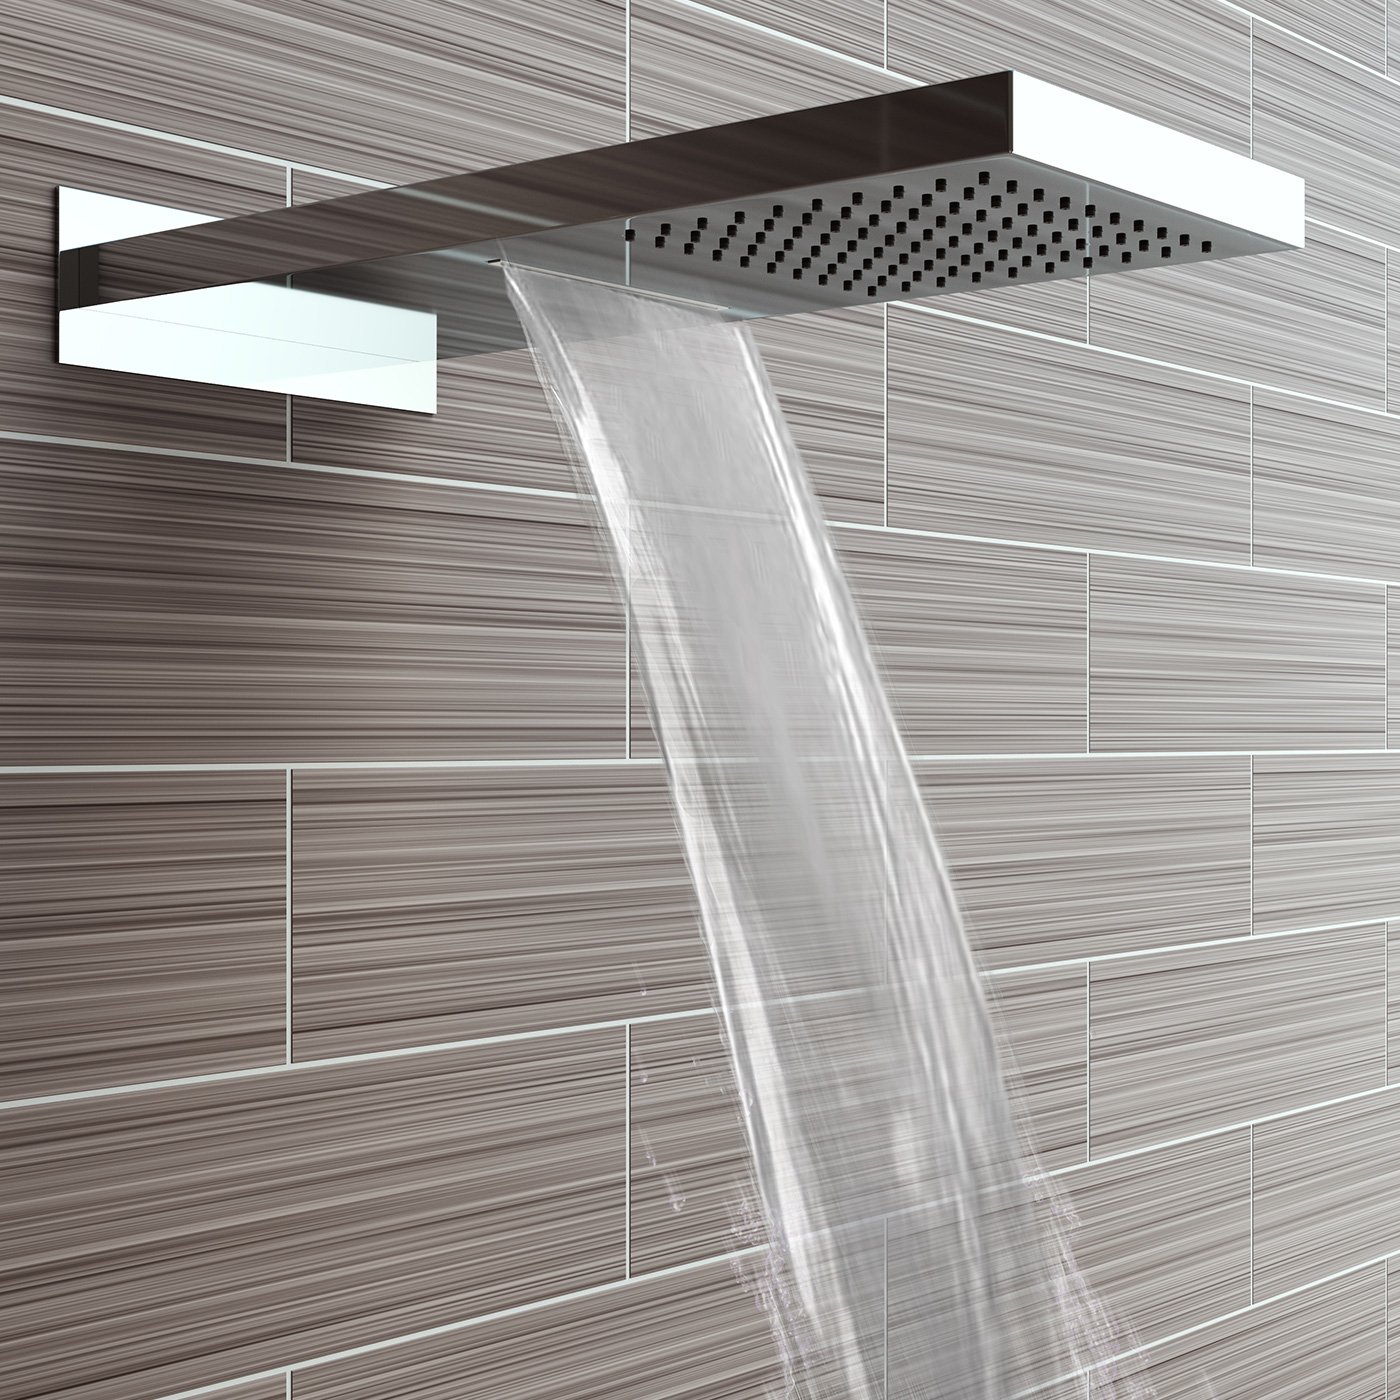
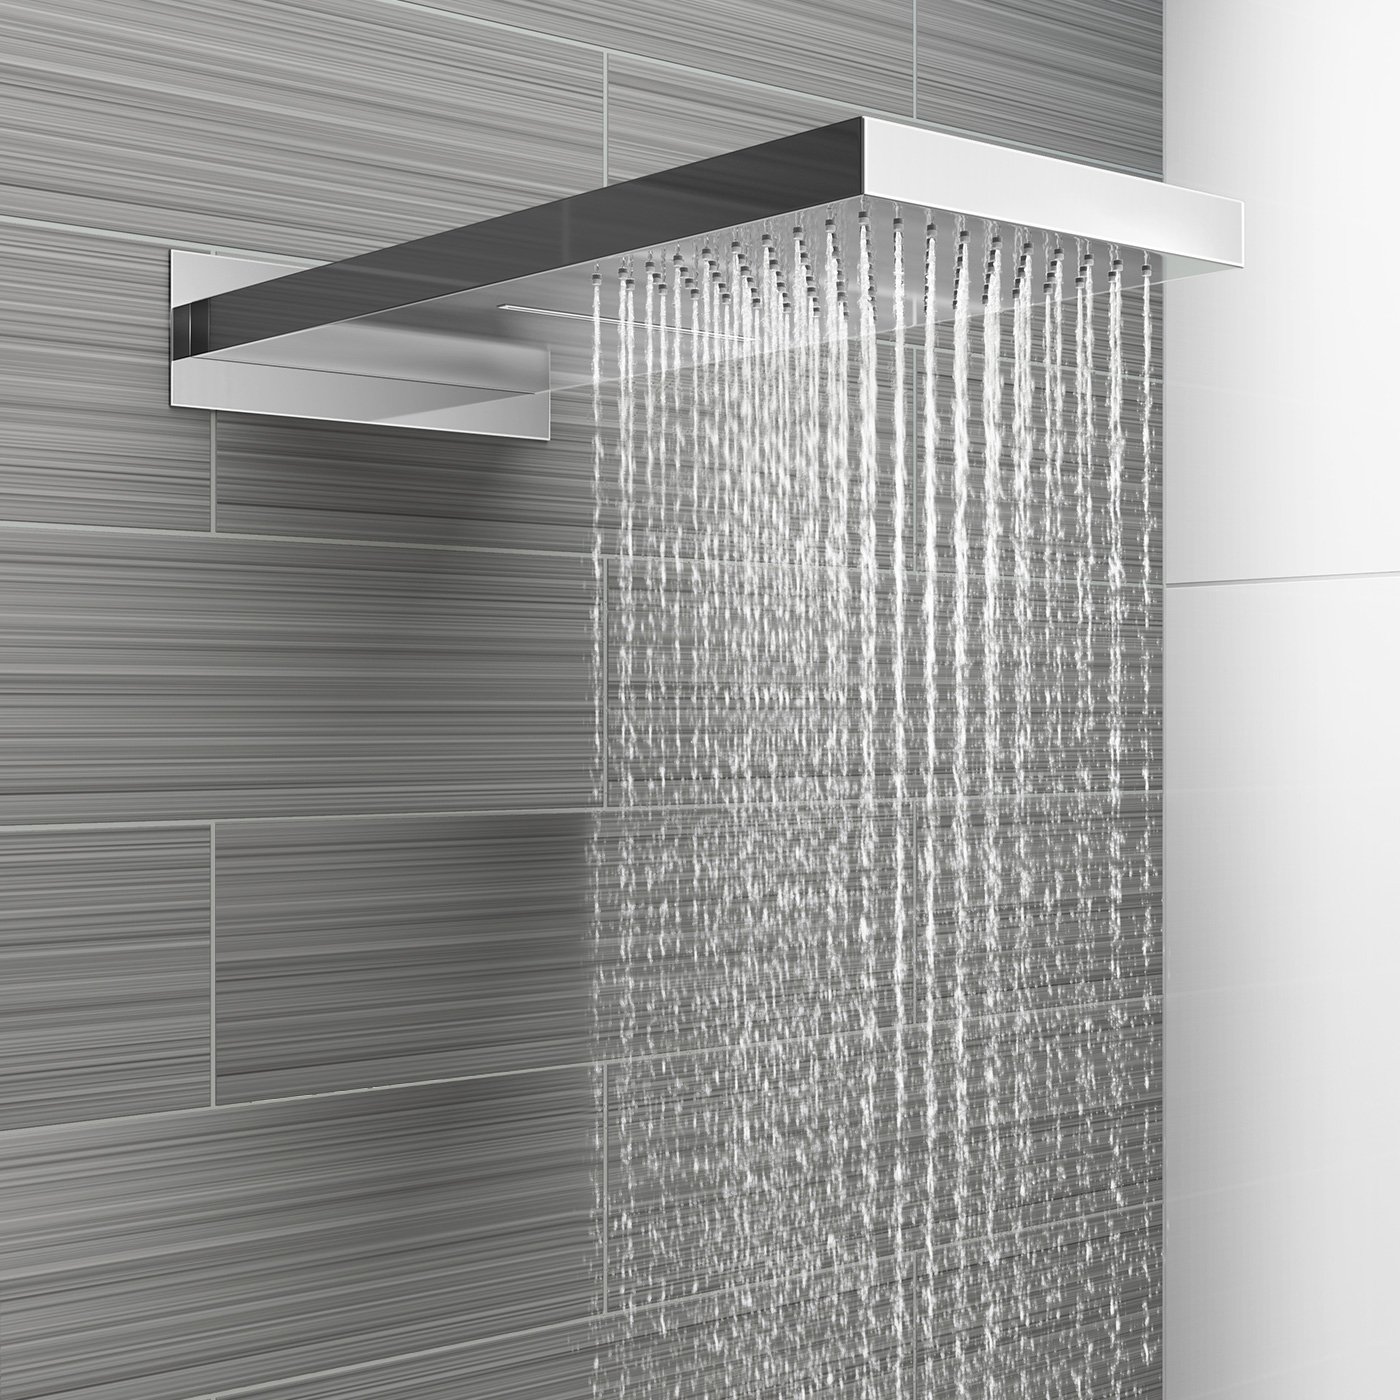
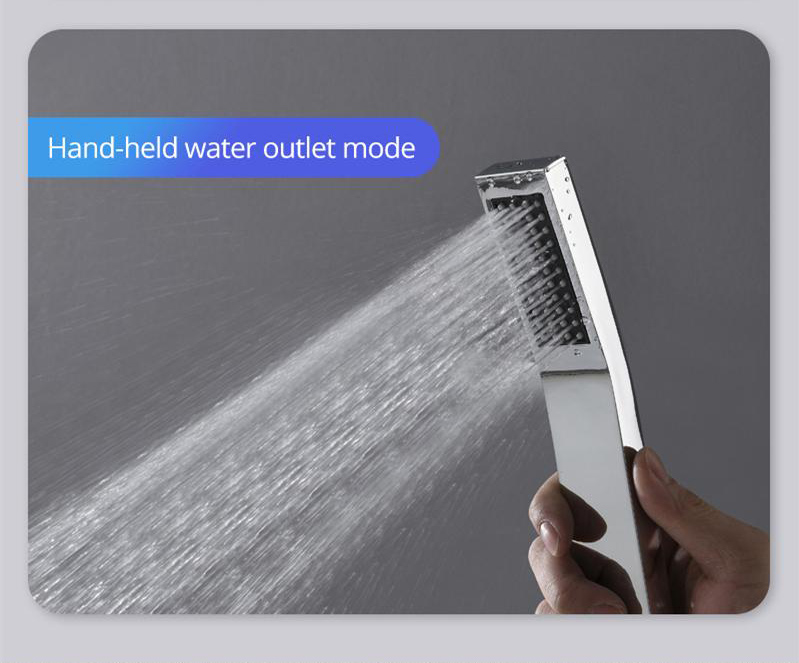
Our Taranto thermostatic shower system offers what is often considered a must-have on modern bathrooms: a large rainfall shower head, six water massage nozzles and a hand-held shower. They all come in polished chrome finish so they can easily complement other modern bathroom fixtures. Everything is wall mount, easy to install and customize, so they perfectly fit your needs. The valves for controlling the different functions and the hot and cold water mixing are included. They come with ceramic valve core material for best performance. Only the best materials have been used for a long lasting lifetime. It comes complete with accessories and installation instructions.


Features:
  • Type : Shower Set
  • Features : Rainfall Shower Head, Body Massage Jets & Hand Shower
  • Hot / Hold Water : Yes
  • Cold/Hot Water Control Type : Single Holder Dual Control
  • Installation Type Wall Mount
  • Surface Finish : Chrome
  • Surface Treatment : Polished
  • Valve Core Material : Ceramic
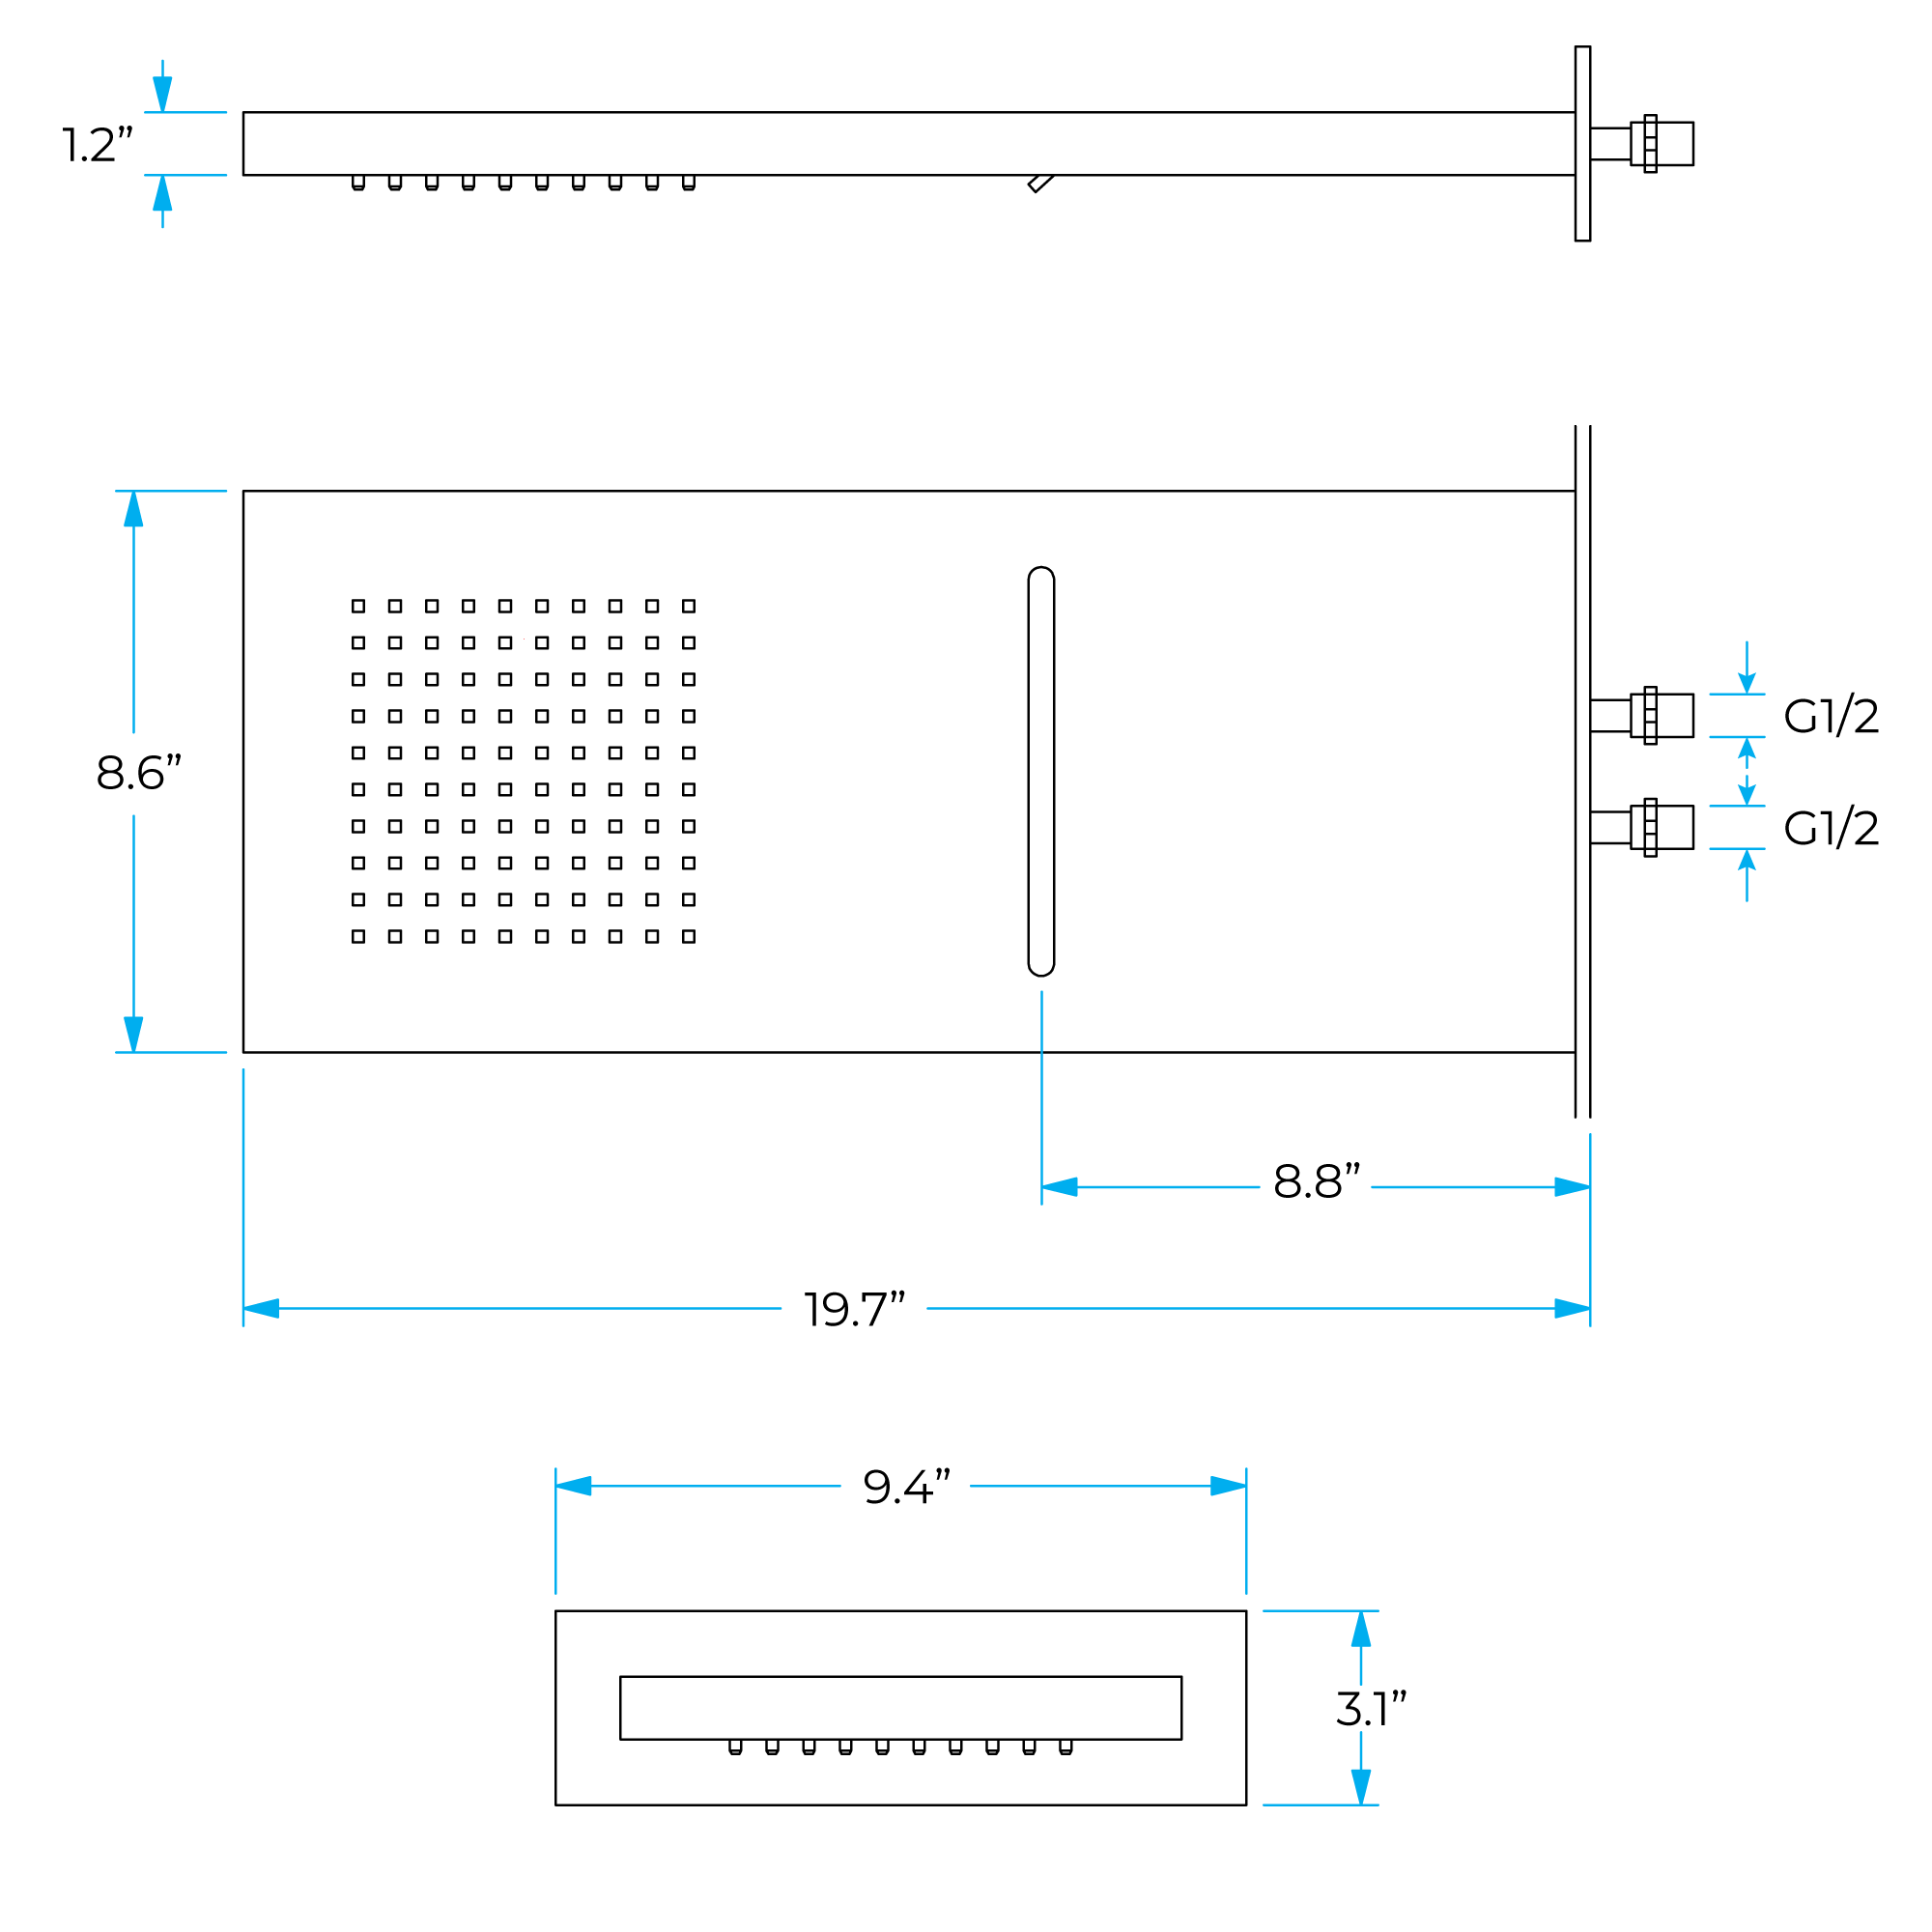
  • Size : 15.74" (40 cm)
showerTaranto Thermostatic Shower Set With Rainfall Shower Head & Hand Shower


Important Note:

  • Before you begin, please read the installation instructions below. Observe all local building and safety codes.
  • Unpack and inspect the product for any shipping damages. If you find damages, do not install.
  • Please note all products must be installed by a professional and certified plumber otherwise warranty may be voided.

  • Shower Head Installation Instructions

    Size:


    Step 1: shower head Step 2:

    Open the top cover and drill according to the marked position.
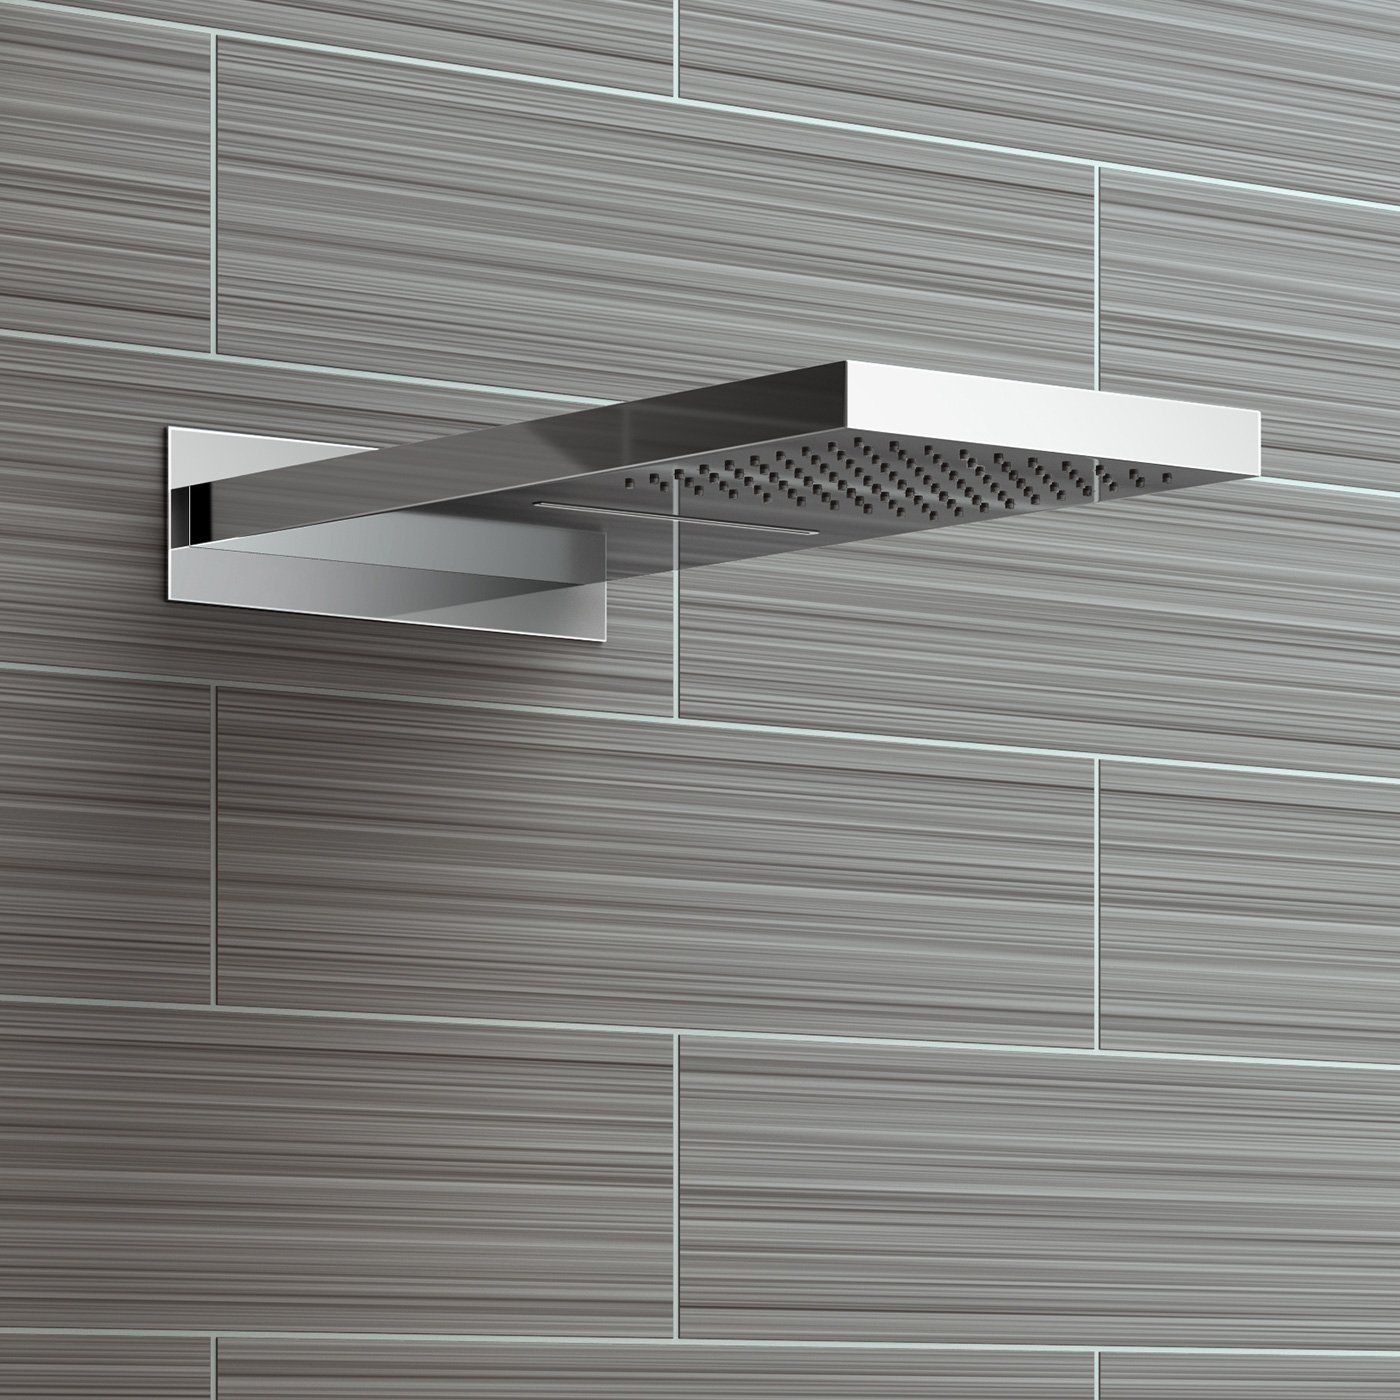
    1. Mark by the position of the four holes.

    2. Take care to avoid wires and pipes to prevent damage.
    3. Be sure to confirm that the four holes are on the same horizontal line.


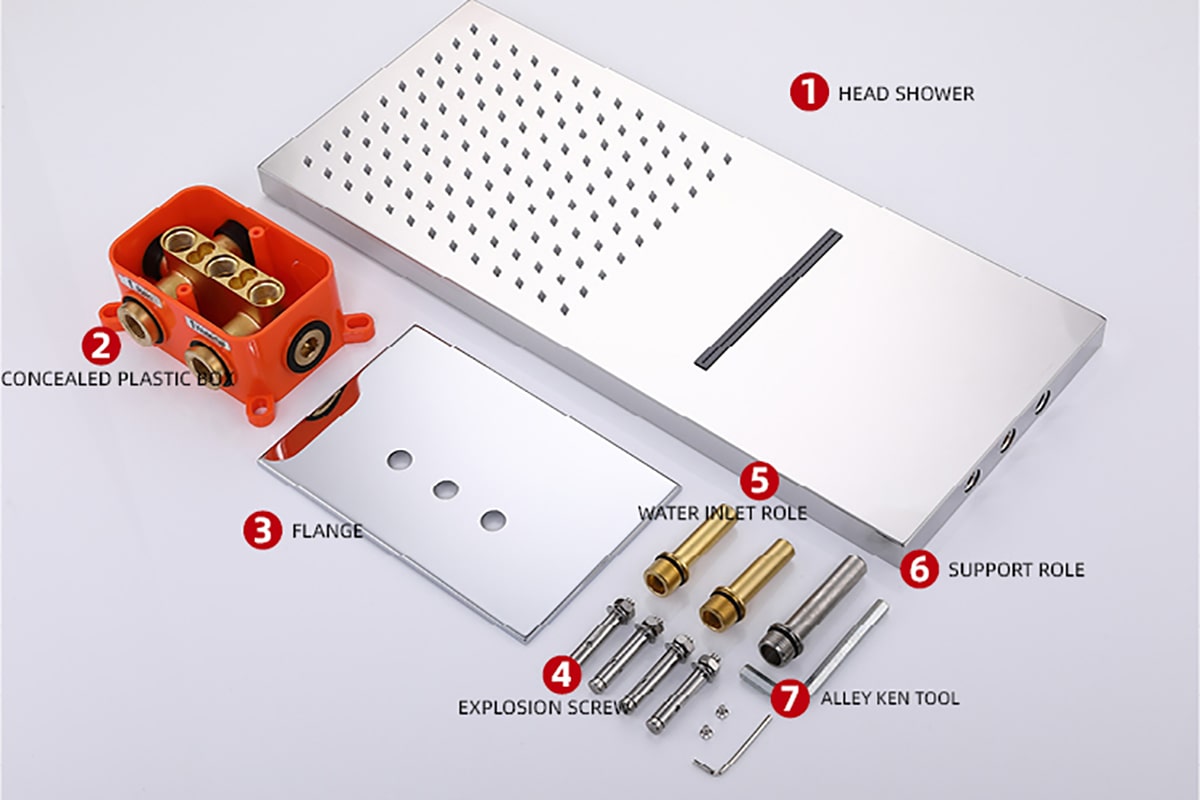
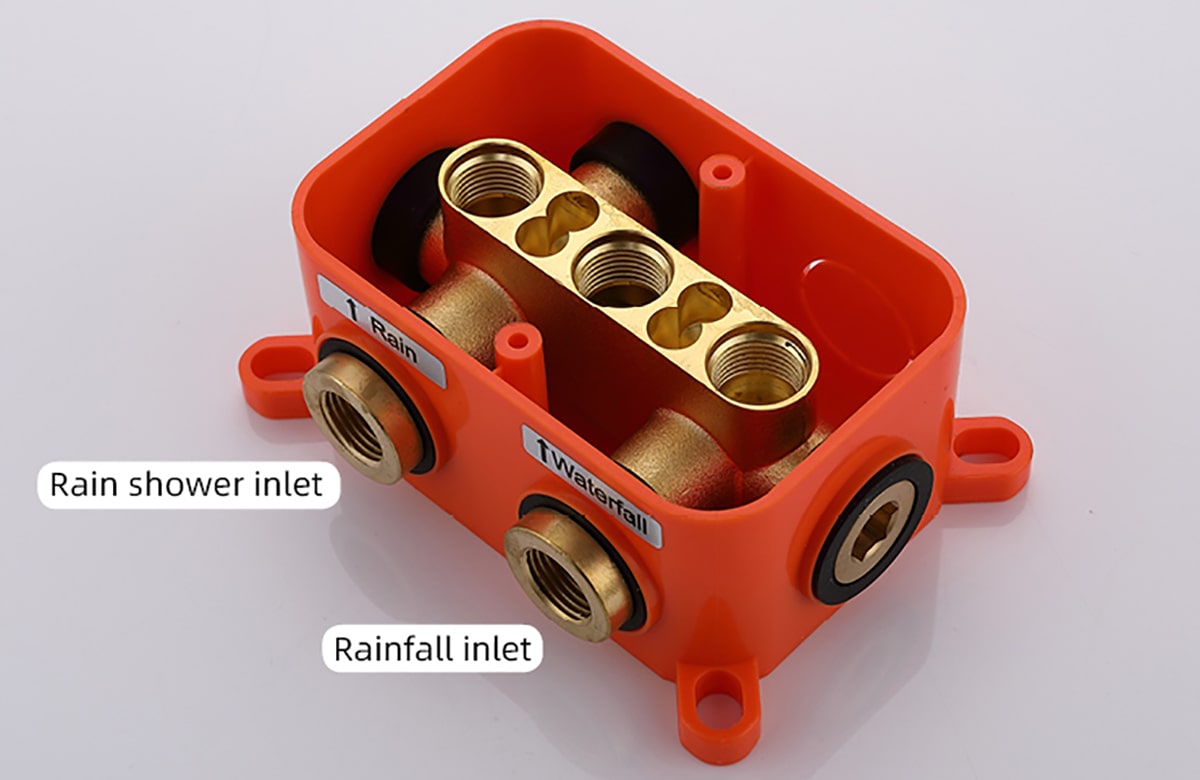
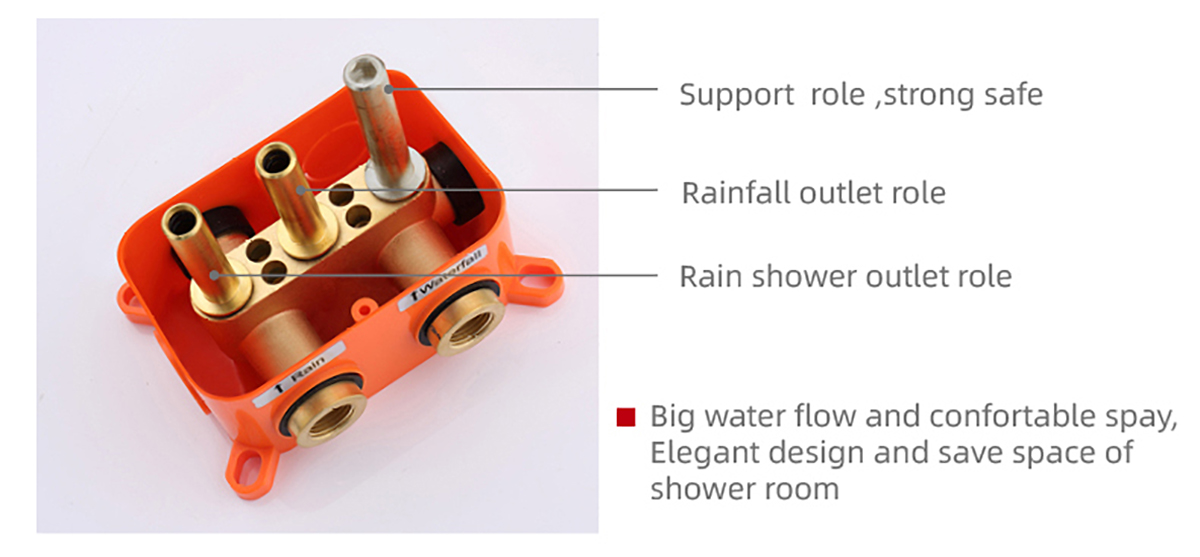
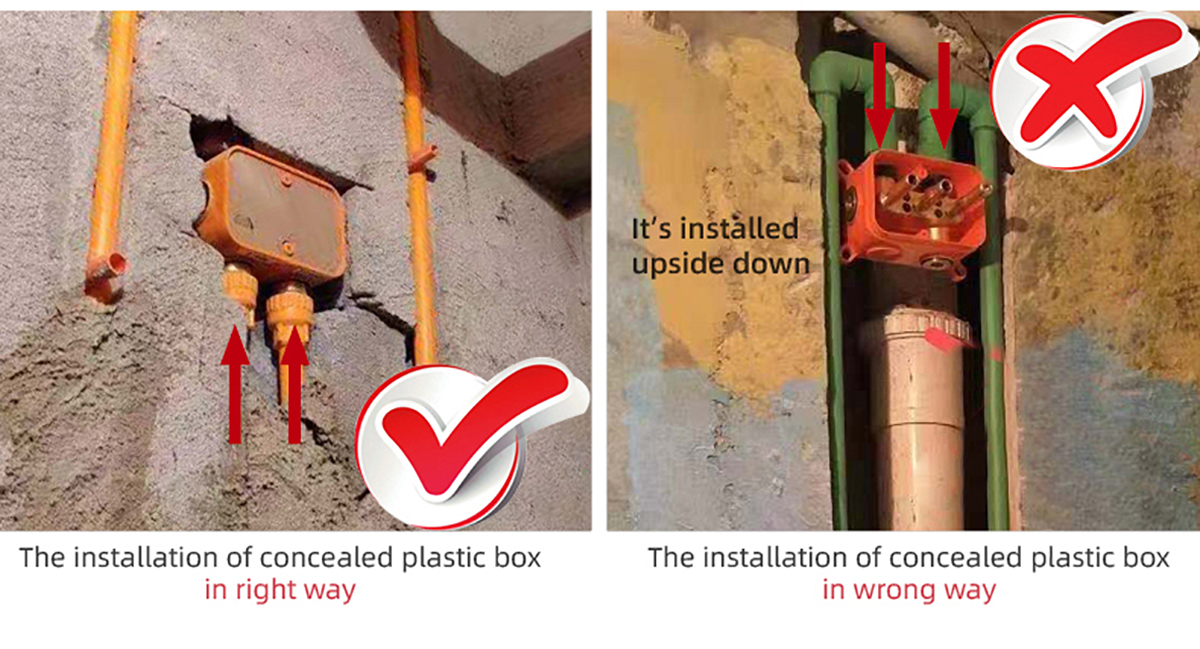
    Remove the protective cover (F). Mark the positions and drill holes to suit the anchors (A). Install the anchors (A) and fix the rough-in valve (B) into the wall with screws. Use a level to ensure that the rough-in valve (B) is straight and level. (Important: Flush the water supply to remove any dirt and debris before installing the valve body).
    Shower Head Installation Instructions
    Step 3: Step 4:

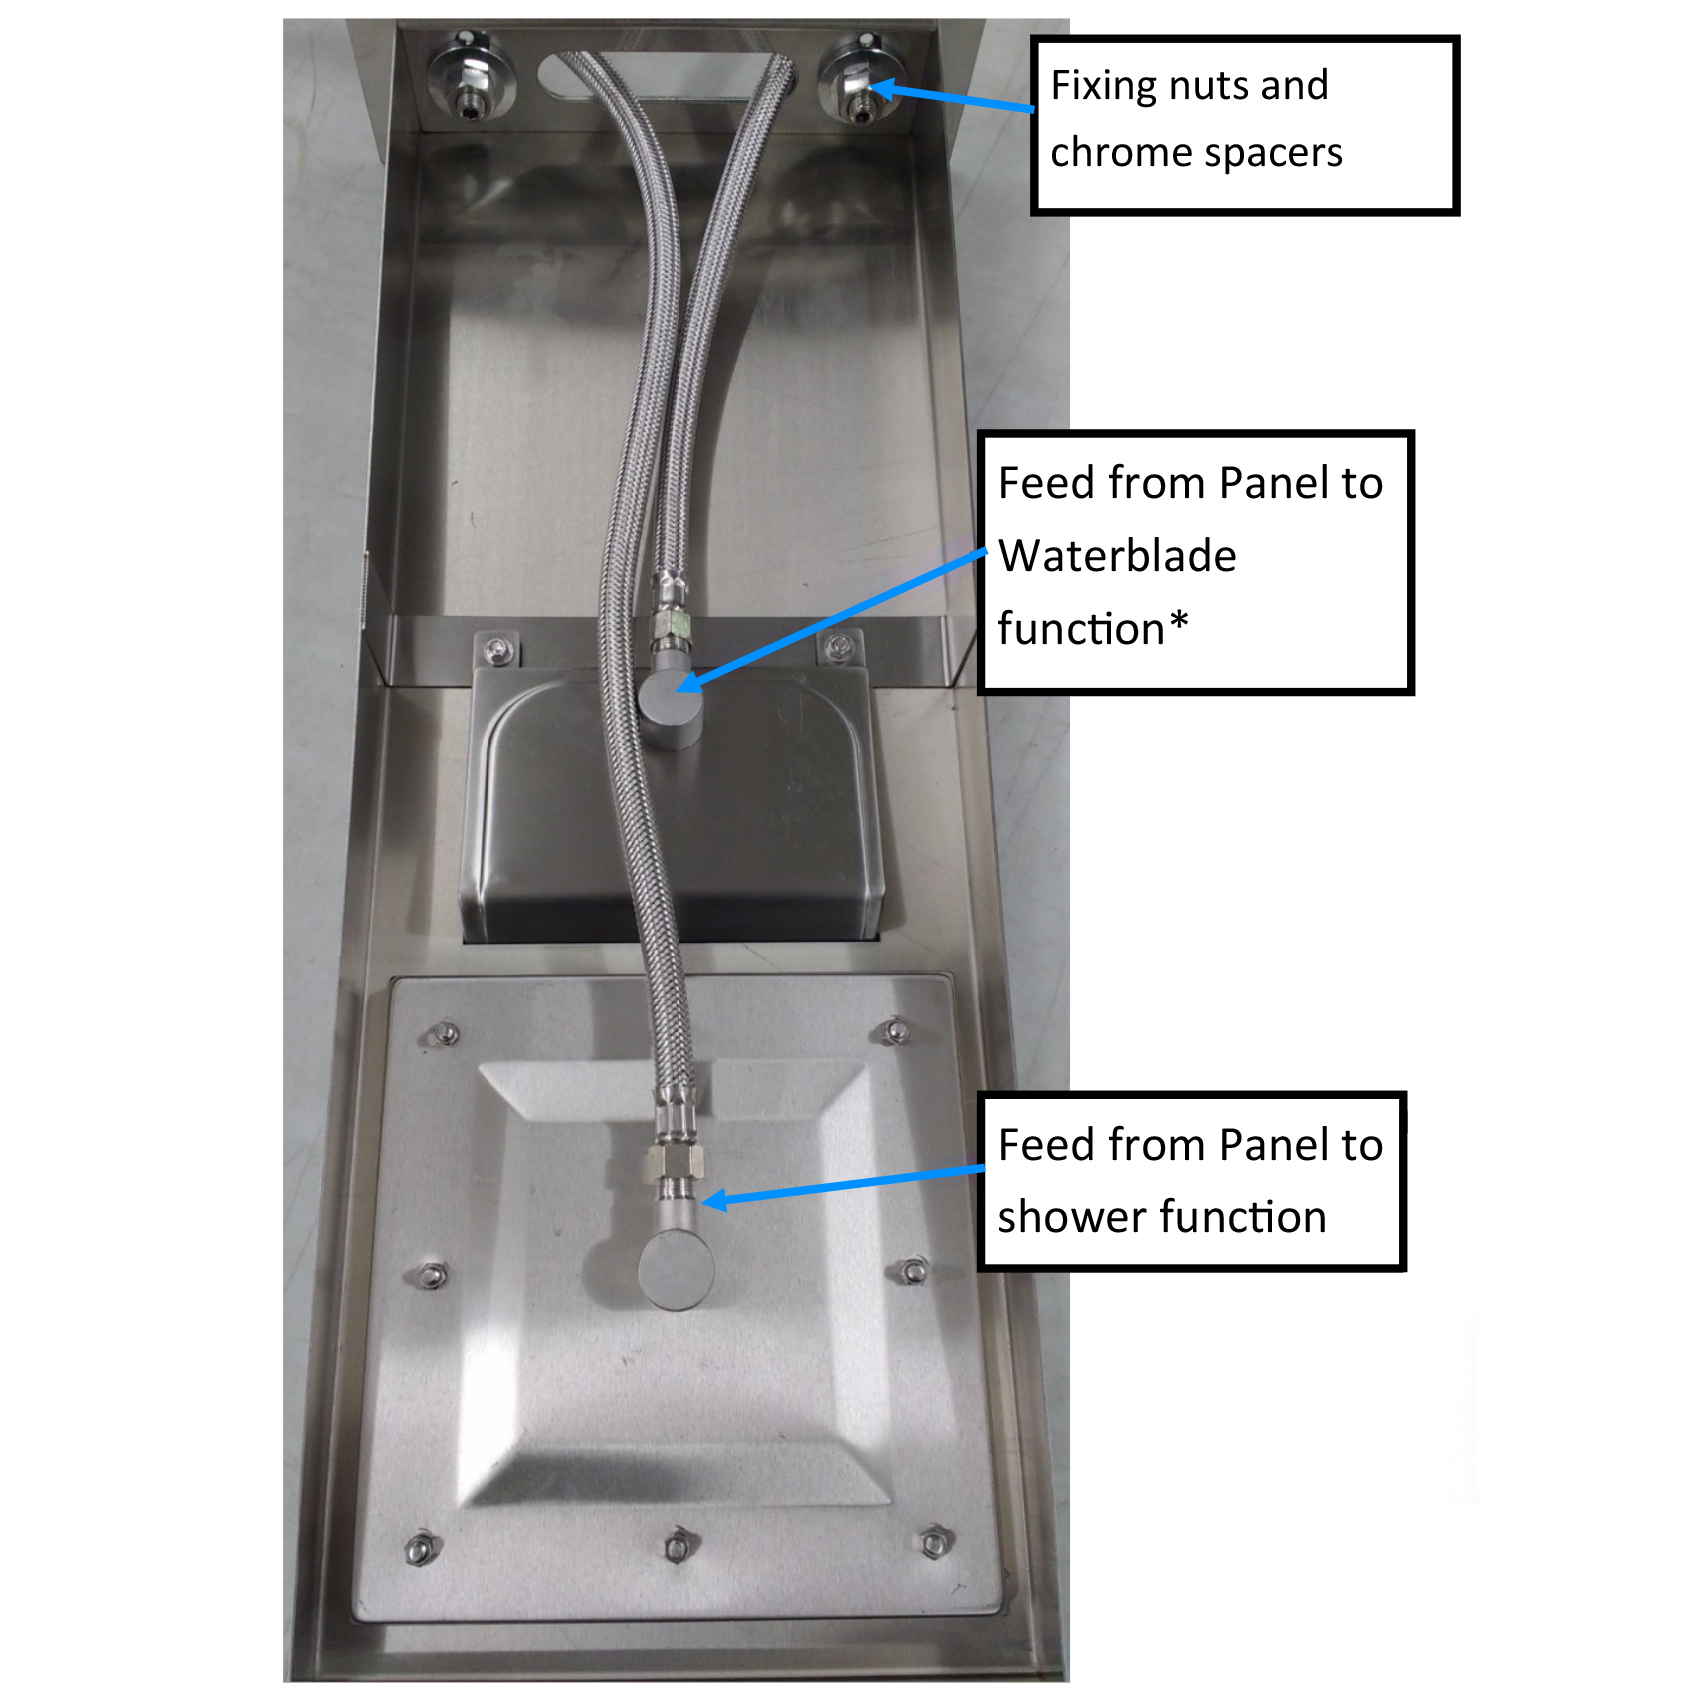
    Wrap Teflon tape around the pipe threads and connect water supply lines and in-wall pipes (not included) as desired to the rough-in valve (B). Turn on the water supply and open the cartridge to check for leakage. Then put on the protective cover and finish the wall surrounding the valve. (Note: Test the water pressure after the pipe connections have been made and before the finished wall material is installed). Two inlet fittings are connected to the pipe joint of the wall; then the nut, expansion screw, and inlet pipe are connected.


    Shower Head Installation Instructions
    Step 5: Step 6:

    Reinstall the top cover.
    Fix the escutcheon (D) to the showerhead (E) with screws (C).
    Shower Head Installation Instructions

    Step 7:

    Remove the protective cover when the finished wall is completed. Then, install the showerhead (E) and press it against the finished wall.


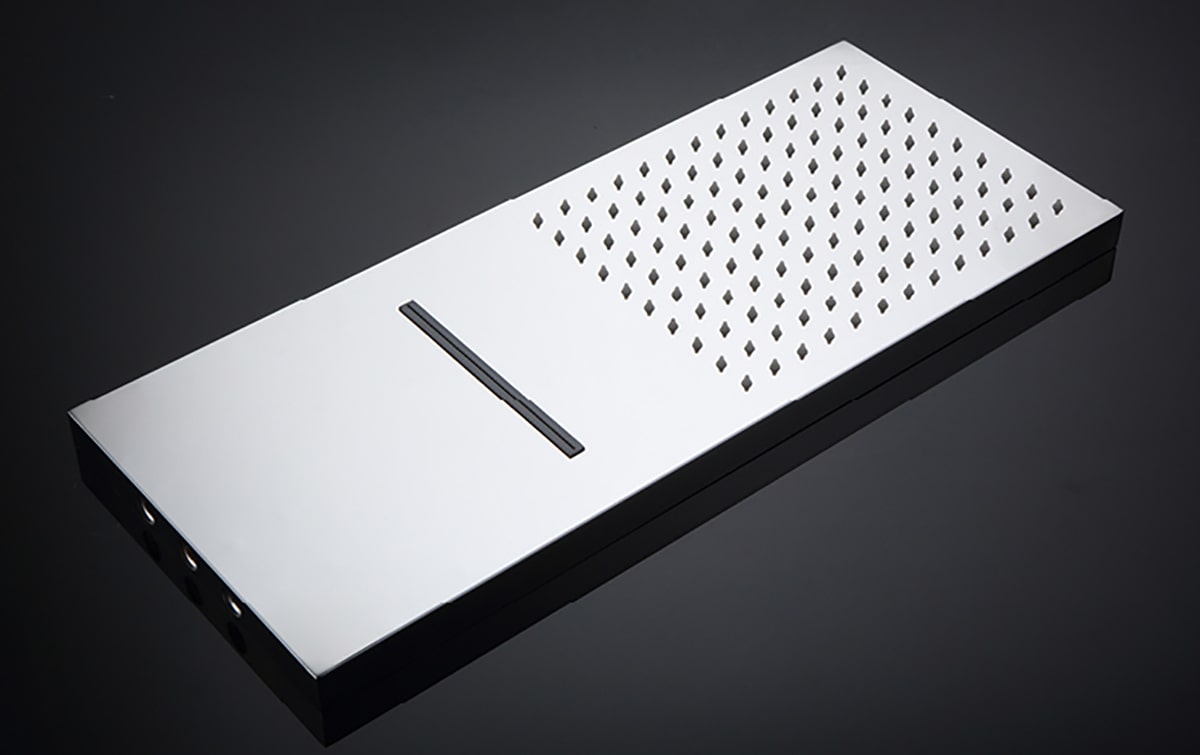
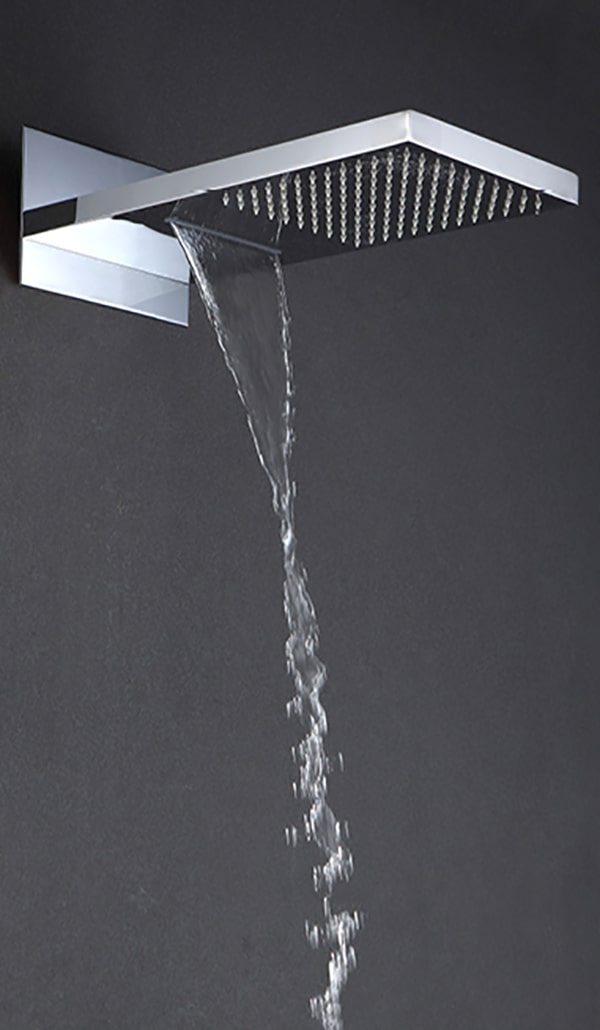
    Waterfall


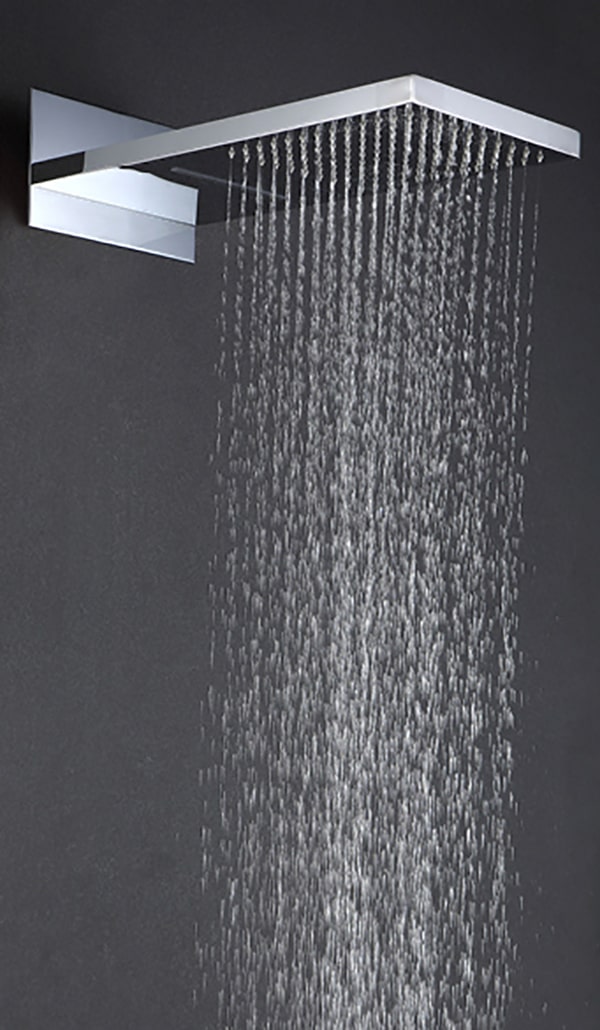
    Rainfall


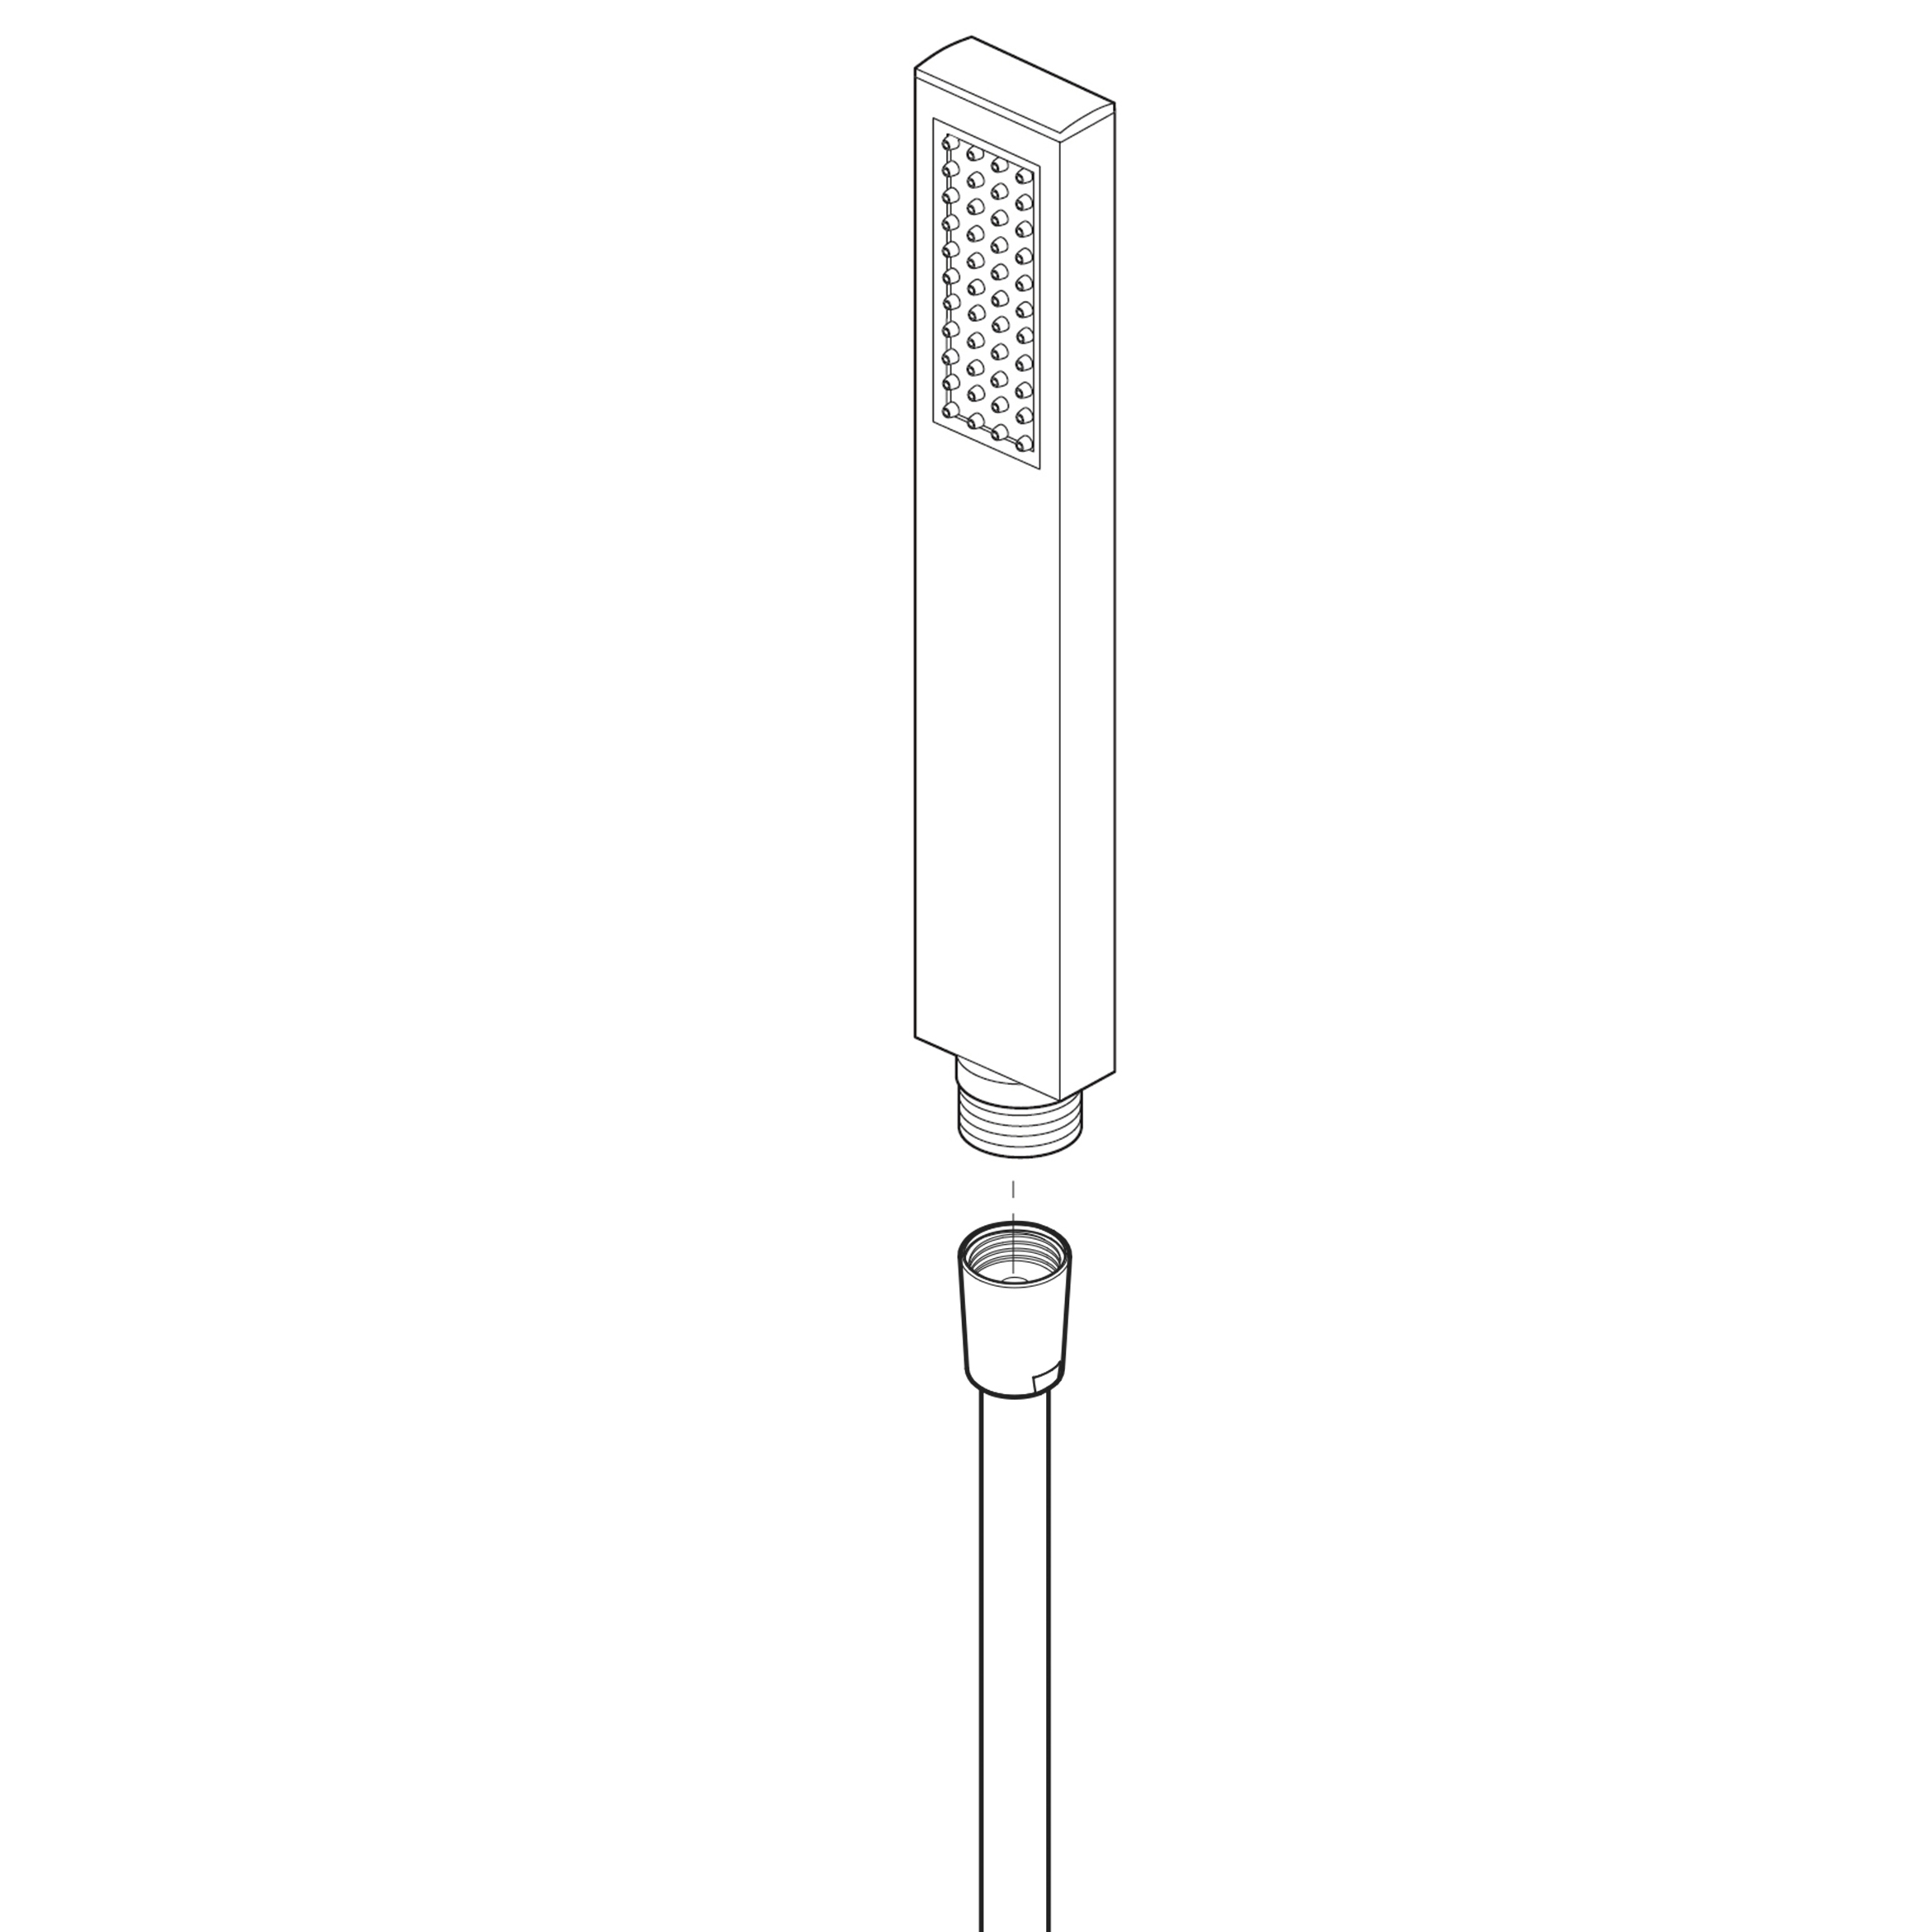
    Hand Held Shower Installation Instructions


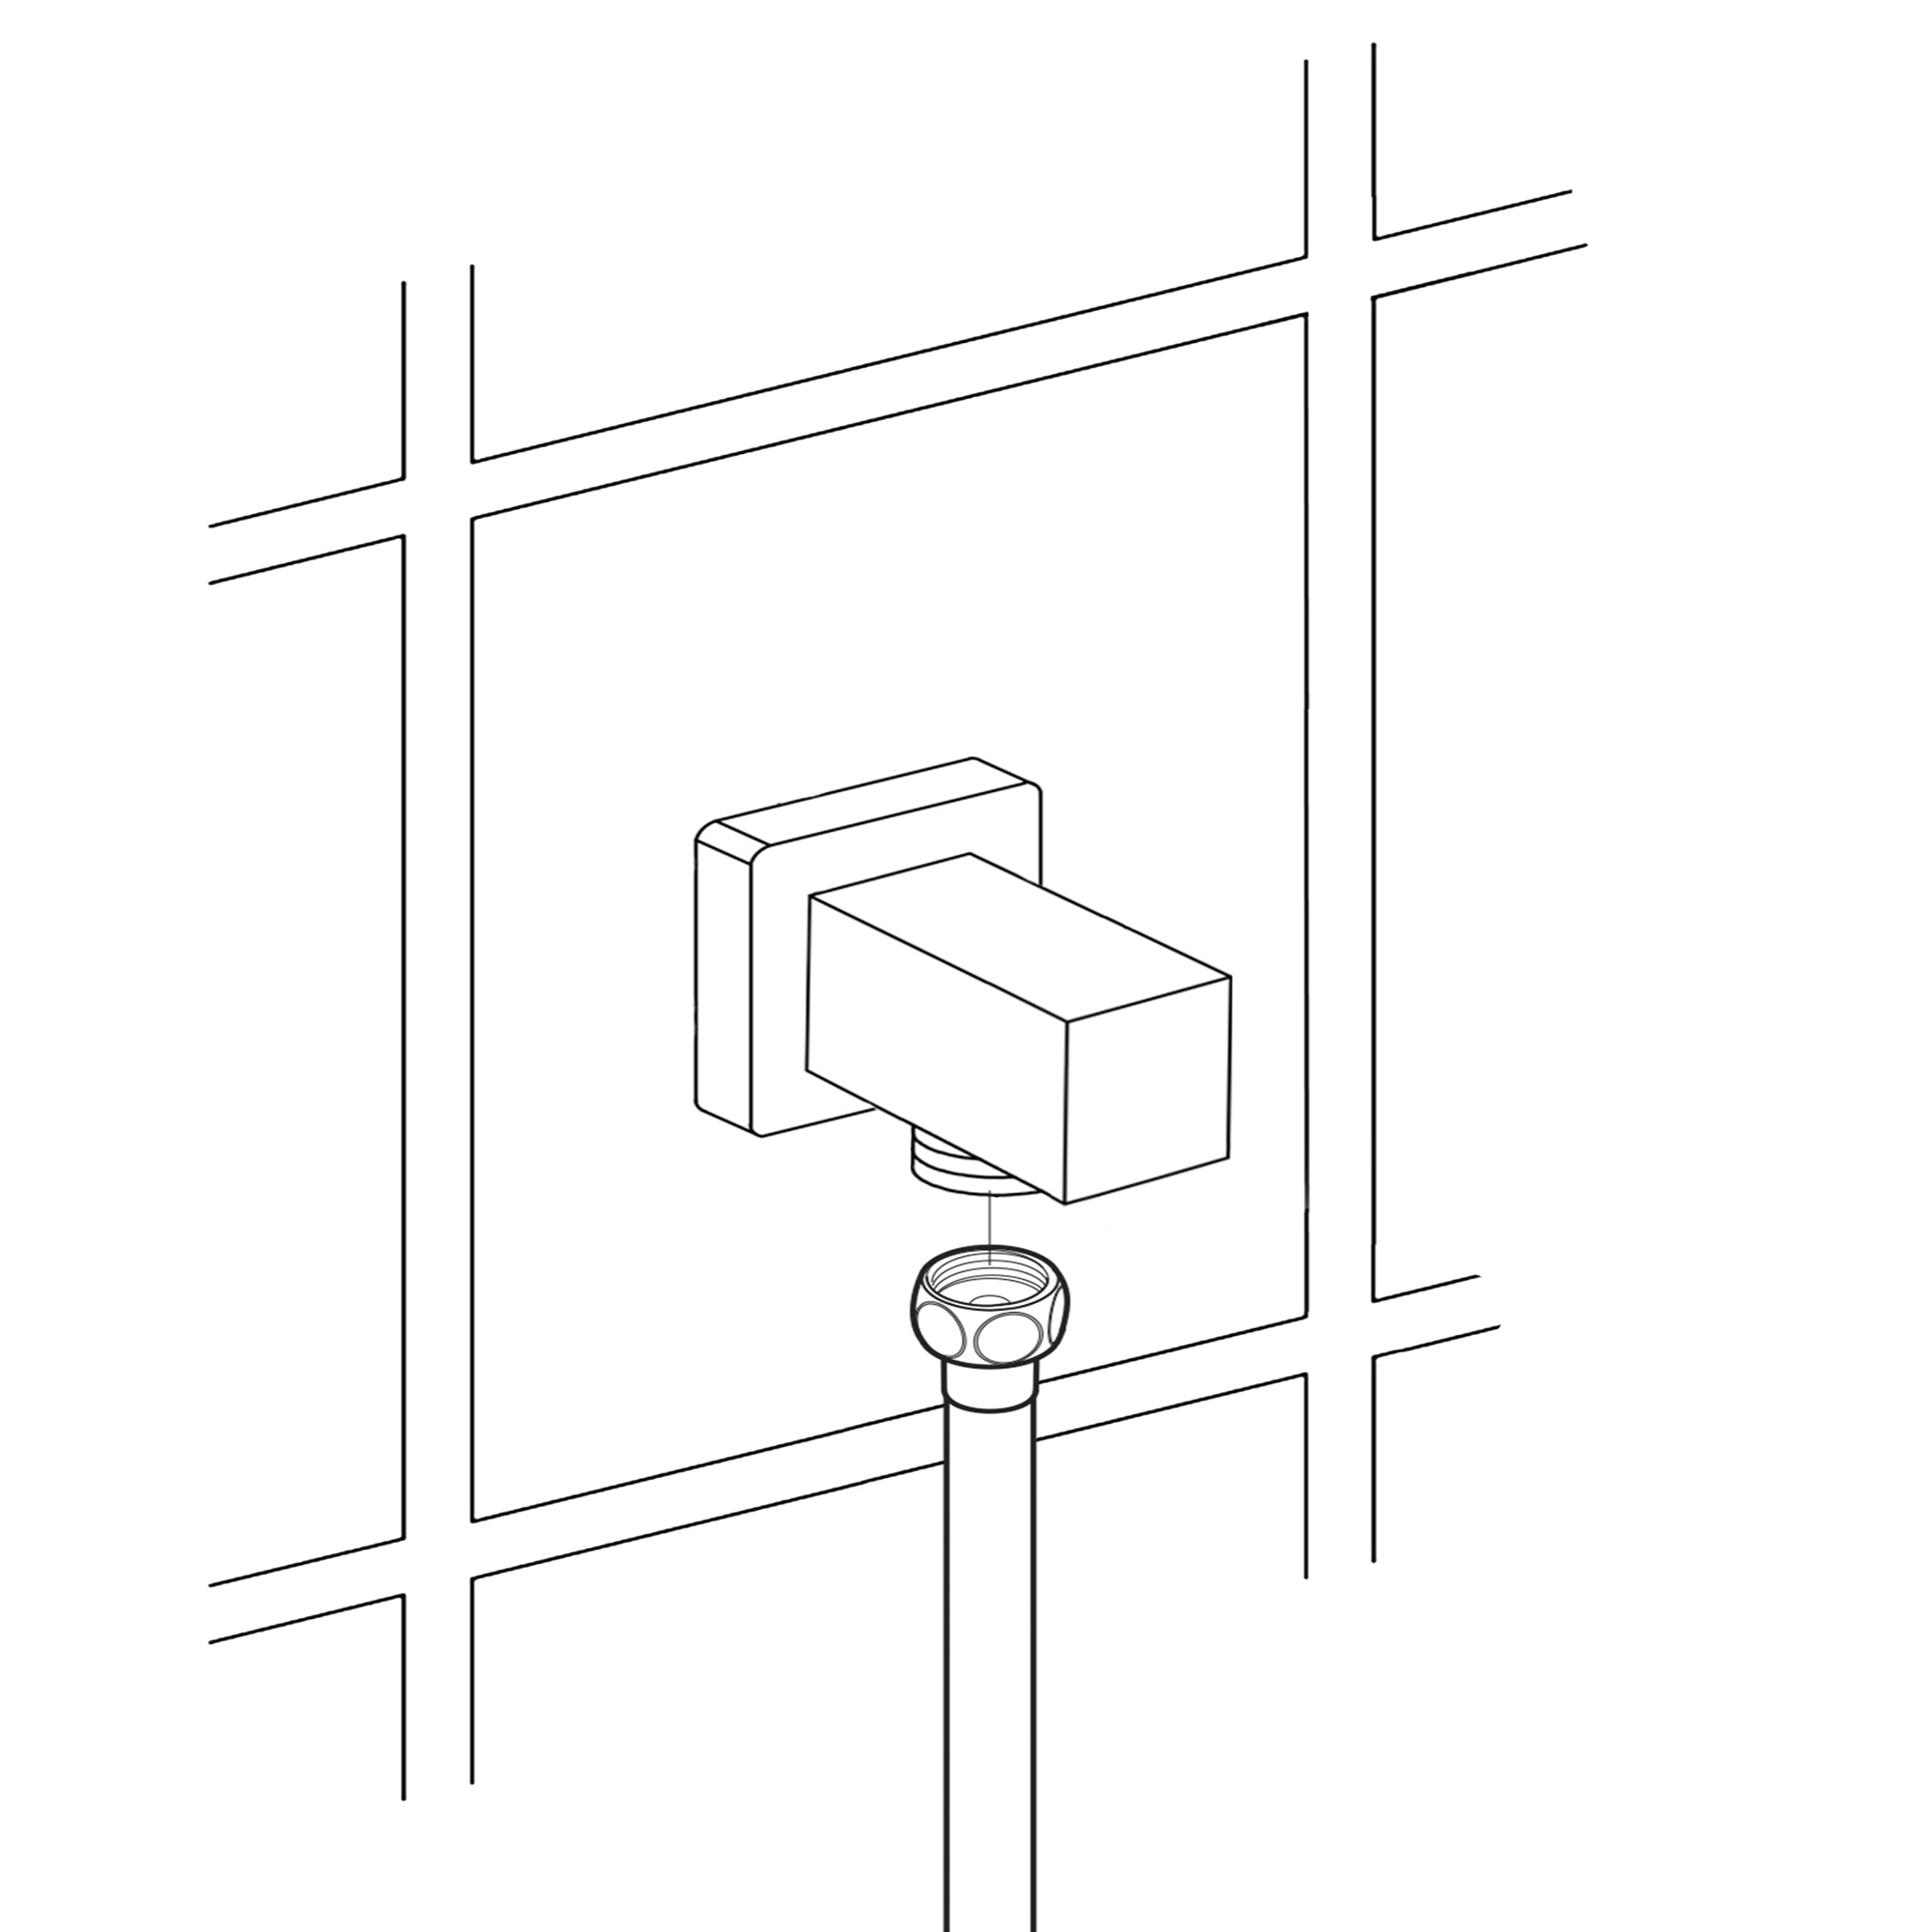
    Step 1: (Elbow)Step 2:
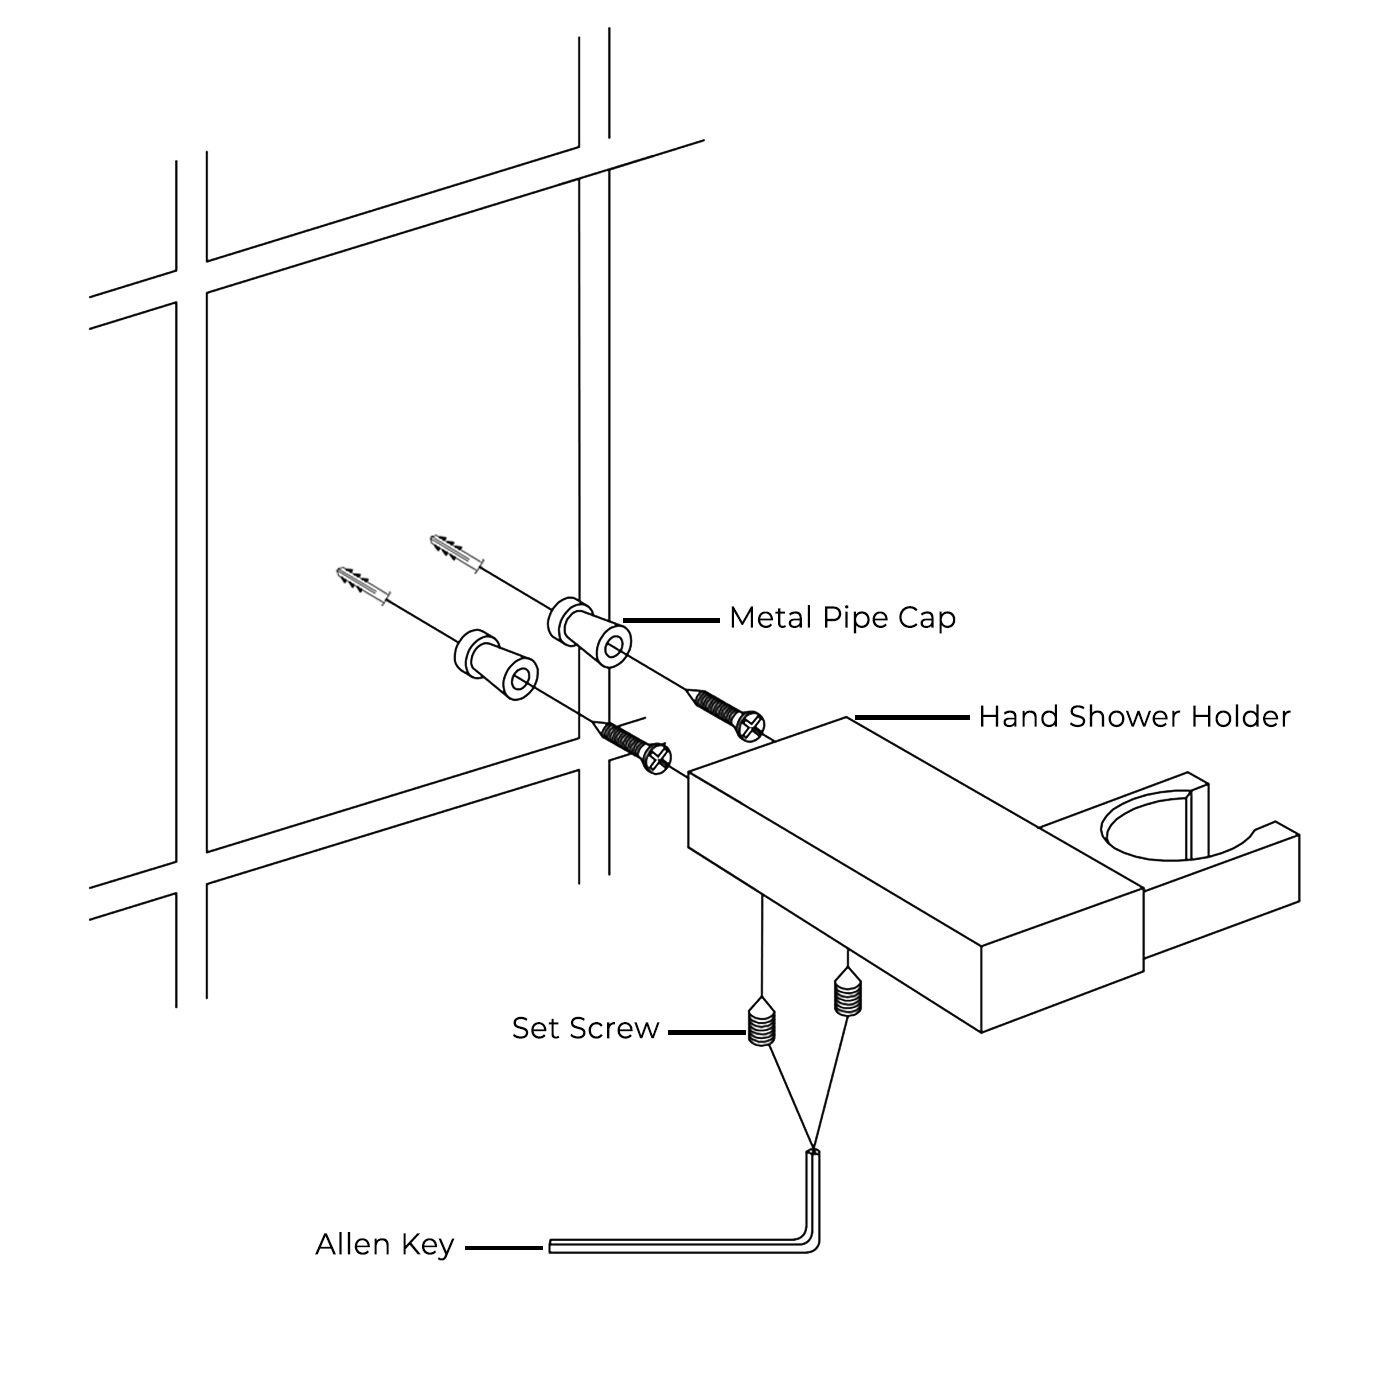
    Step 3: (Hand Shower Bracket)Step 4:
    Hand
    Held
    Shower
    Hand
    Held
    Shower

    Handheld Shower

    BathSelect Installation Instructions